Get in Touch
|
autodesk inventor is a computer aided application for 3D mechanical design, simulation, visualization, and documentation developed by autodesk.
|
to use inventor and get started with 3D printing you must follow these steps.
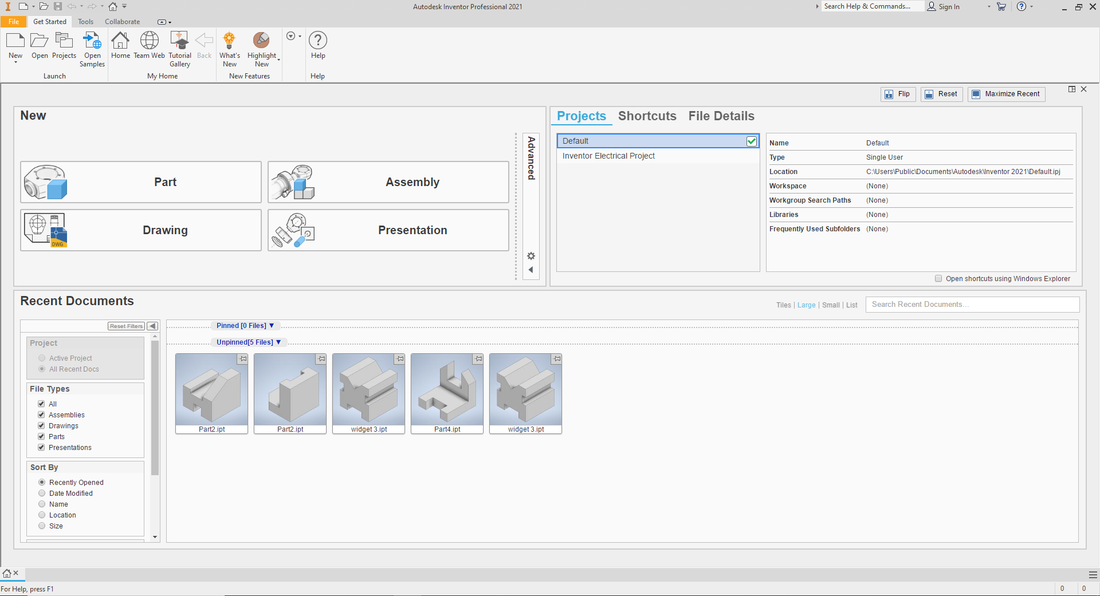
1. you want to go into a browser and look up inventor if you have inventor set up you should open up to this page.
2. hit the part button up in the left corner.
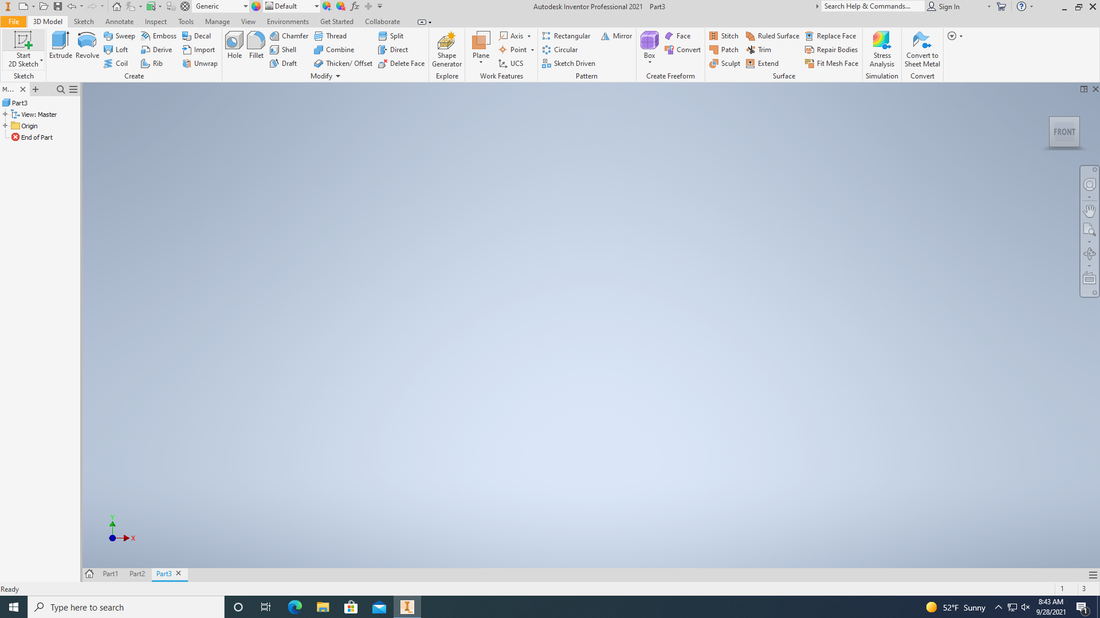
3. hit sketch and click on the x y plain.
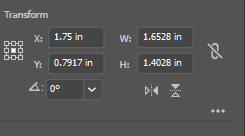
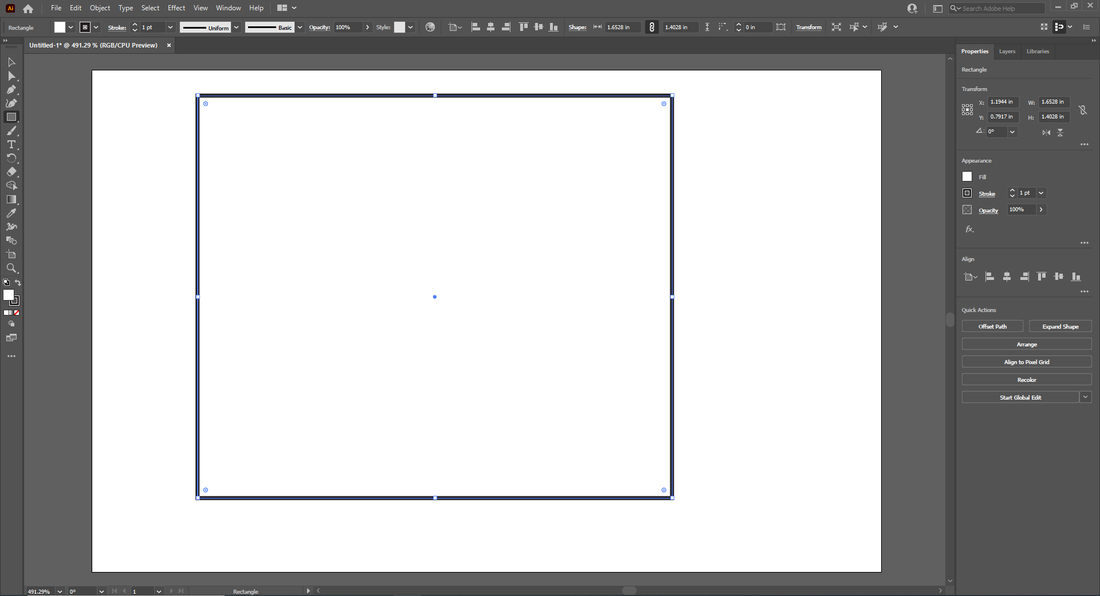
4. hit the line tool or what ever form of drawing the sketch tool. after you are done drawing out your sketch hit the dimension tool, dimension the length the height and width of your drawing.
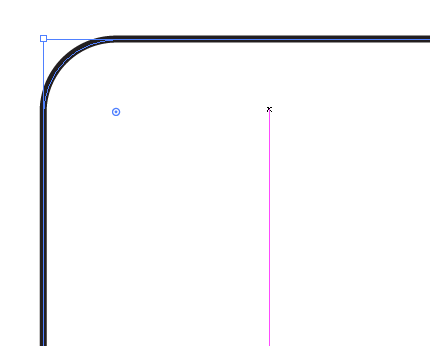
5. press finish sketch then press the extrude button. in the portion type your length of how long your widget will be.
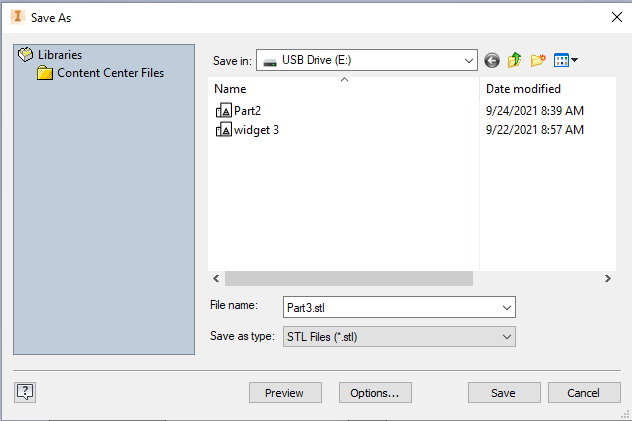
6.click the file button up in the tope left corner hit CAD format. plug in your flash drive and save it. next you want to save it to the STL file. then hit the save button down in the bottom right.

7. next you gonna open up maker bot and open it up

8. from here click add file and open up you usb drive and hit you widget and upload it and press keep size.
9. press the change dimensions tool and hit to what ever size you want but make sure it will fit for your printer.
10. press export files and save it to your flash drive
once your file is saved take your flash drive to your 3D printer and plug it in and open up the file and find the file name you listed it too. start print and watch it start taking off. you will probably want to stay and watch it through the first minute to make sure everything running smoothly.
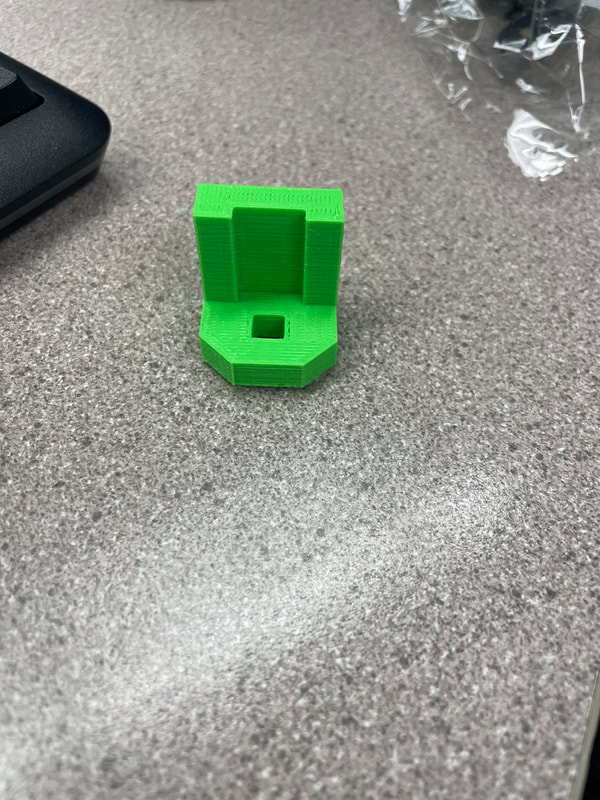
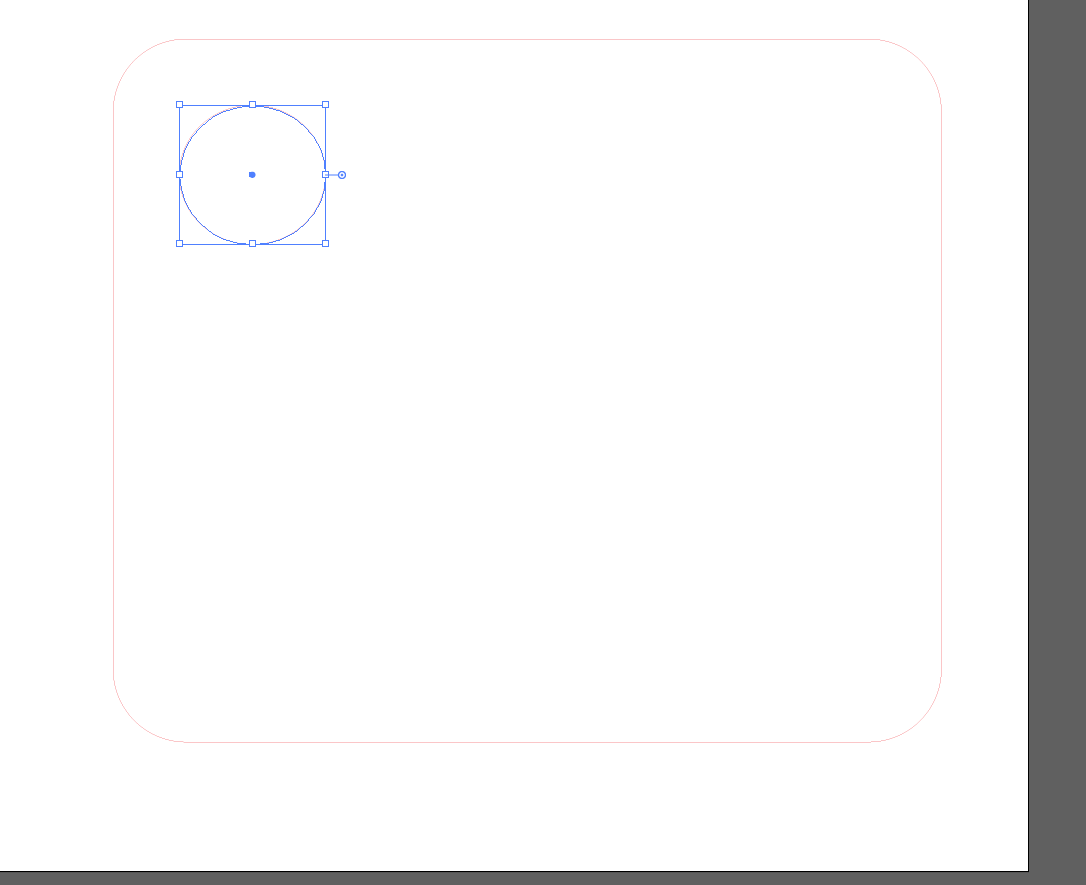
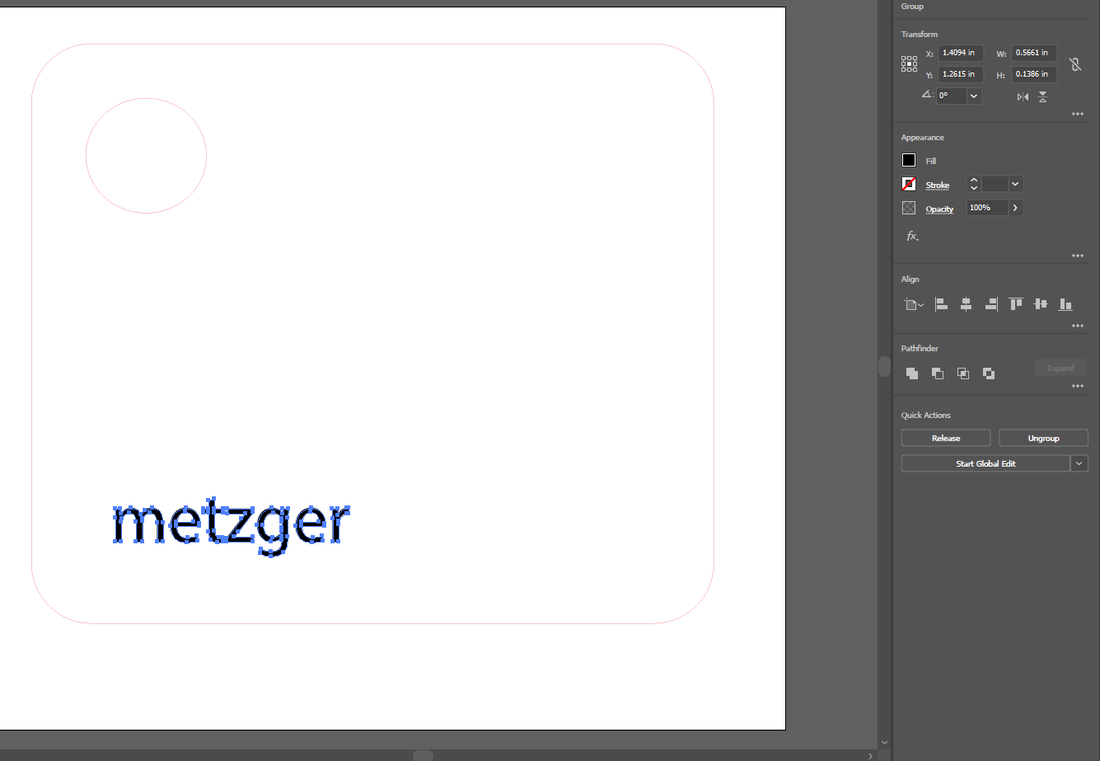
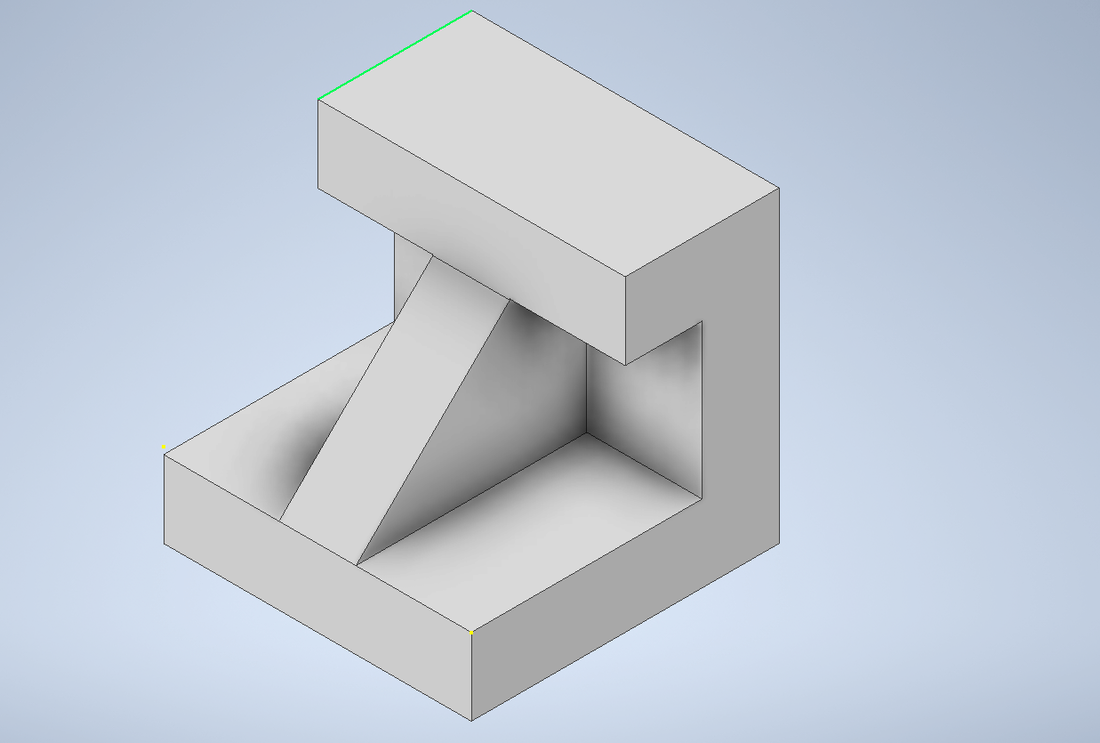
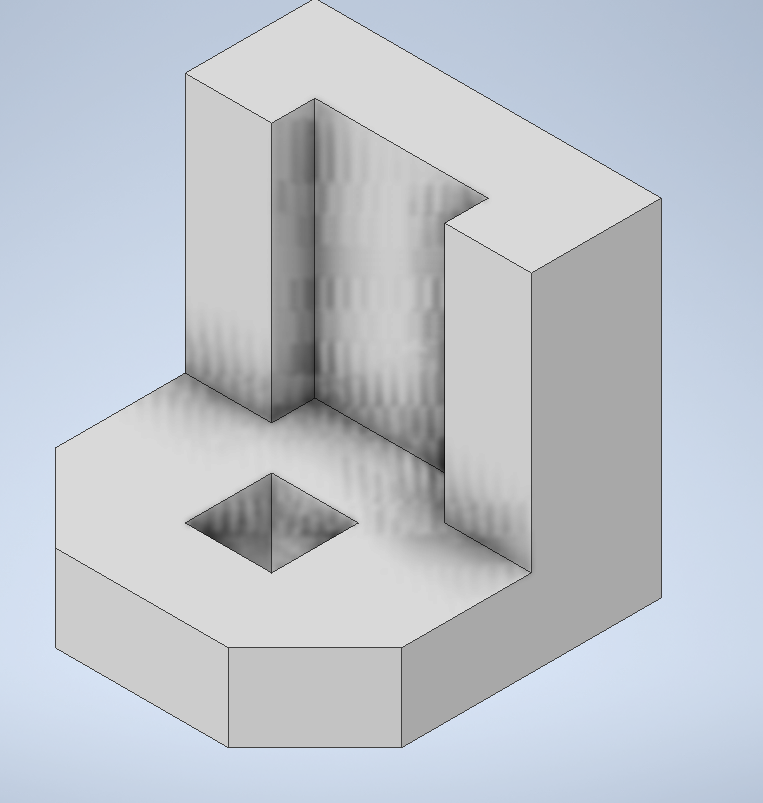
here are some widgets that i had drawn and made on inventor.
here are some widgets that i had drawn and made on inventor.
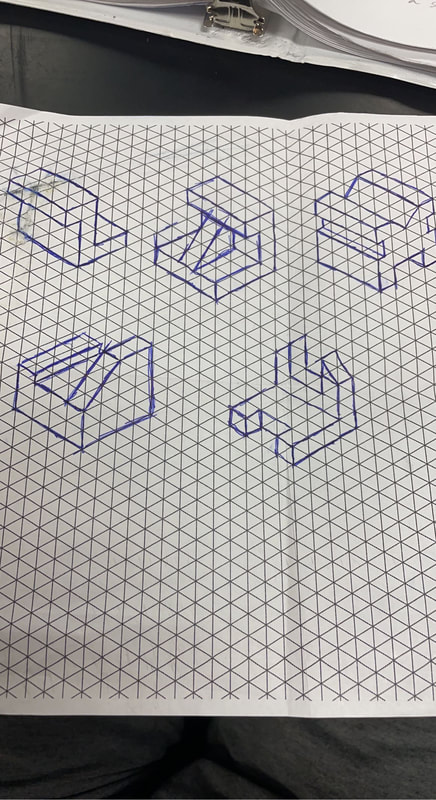
here are my widgets i had drawn now you can use the measurements from the girded paper each cub is a 1/4 of an inch. now we bring this to inventor.
|
|
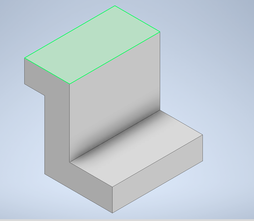
this is my final result after printing out my widget